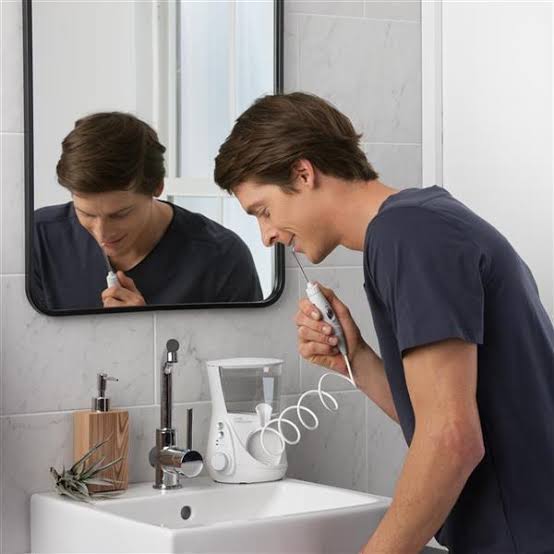
Water Flossers & Oral Irrigators
A water flosser, also called an oral irrigator, directs water around teeth and appliances to assist cleaning. Waterpik is one example. It does not replace toothbrushing; ask your dental team which methods of cleaning between teeth are appropriate for you.
Video demonstration — to be added
Step-by-Step Water Flossing
Fill the reservoir with lukewarm water and attach a suitable tip.
Begin with a low, comfortable pressure. Adjust only according to the device instructions and your dental team’s advice.
Lean over the sink and place the tip in your mouth before switching on.
Keep lips slightly closed while allowing water to drain.
Move along the gumline, pausing between teeth.
If using a compatible orthodontic brush tip, clean gently around brackets as described in its instructions.
Do not force the tip beneath the gums or direct high pressure at painful tissue, healing surgical areas, or mini-screws without specific advice.
Switch off before removing the tip.
Clean the reservoir and replace tips according to the manufacturer’s instructions.
Important Distinctions
Air-and-liquid cleaning devices may work differently. Follow the specific device manual rather than applying water-flosser settings to an AirFloss-type device.
Use mouthwash or additives in a reservoir only if the manufacturer permits them.
When to Seek Advice
Ask for help if use causes pain or persistent bleeding, or if you have recently had oral surgery.